
Fort Worth · DFW Metro · Mobile & In-Shop · Same-Day Available
Fort Worth's
Premier Auto
Detailing Shop
20+ Years · All Vehicle Types · Shop & Mobile
From daily drivers to exotic vehicles, boats, RVs, semi-trucks, and aircraft — My Detail Guys delivers showroom-quality results at our East Lancaster facility or at your location across Fort Worth and DFW.
Everything We Offer
Auto Detailing Services — Fort Worth
Professional care for every vehicle type — in-shop at our East Lancaster location or mobile at your home, office, or storage facility across DFW.
Our most complete package. Paint decontamination with Adam's Iron Remover, multi-stage polish, and Jescar Ultra Lock+ Plus ceramic-polymer sealant for 6–8 months of protection. One appointment, total transformation.
View Supreme Full Detail →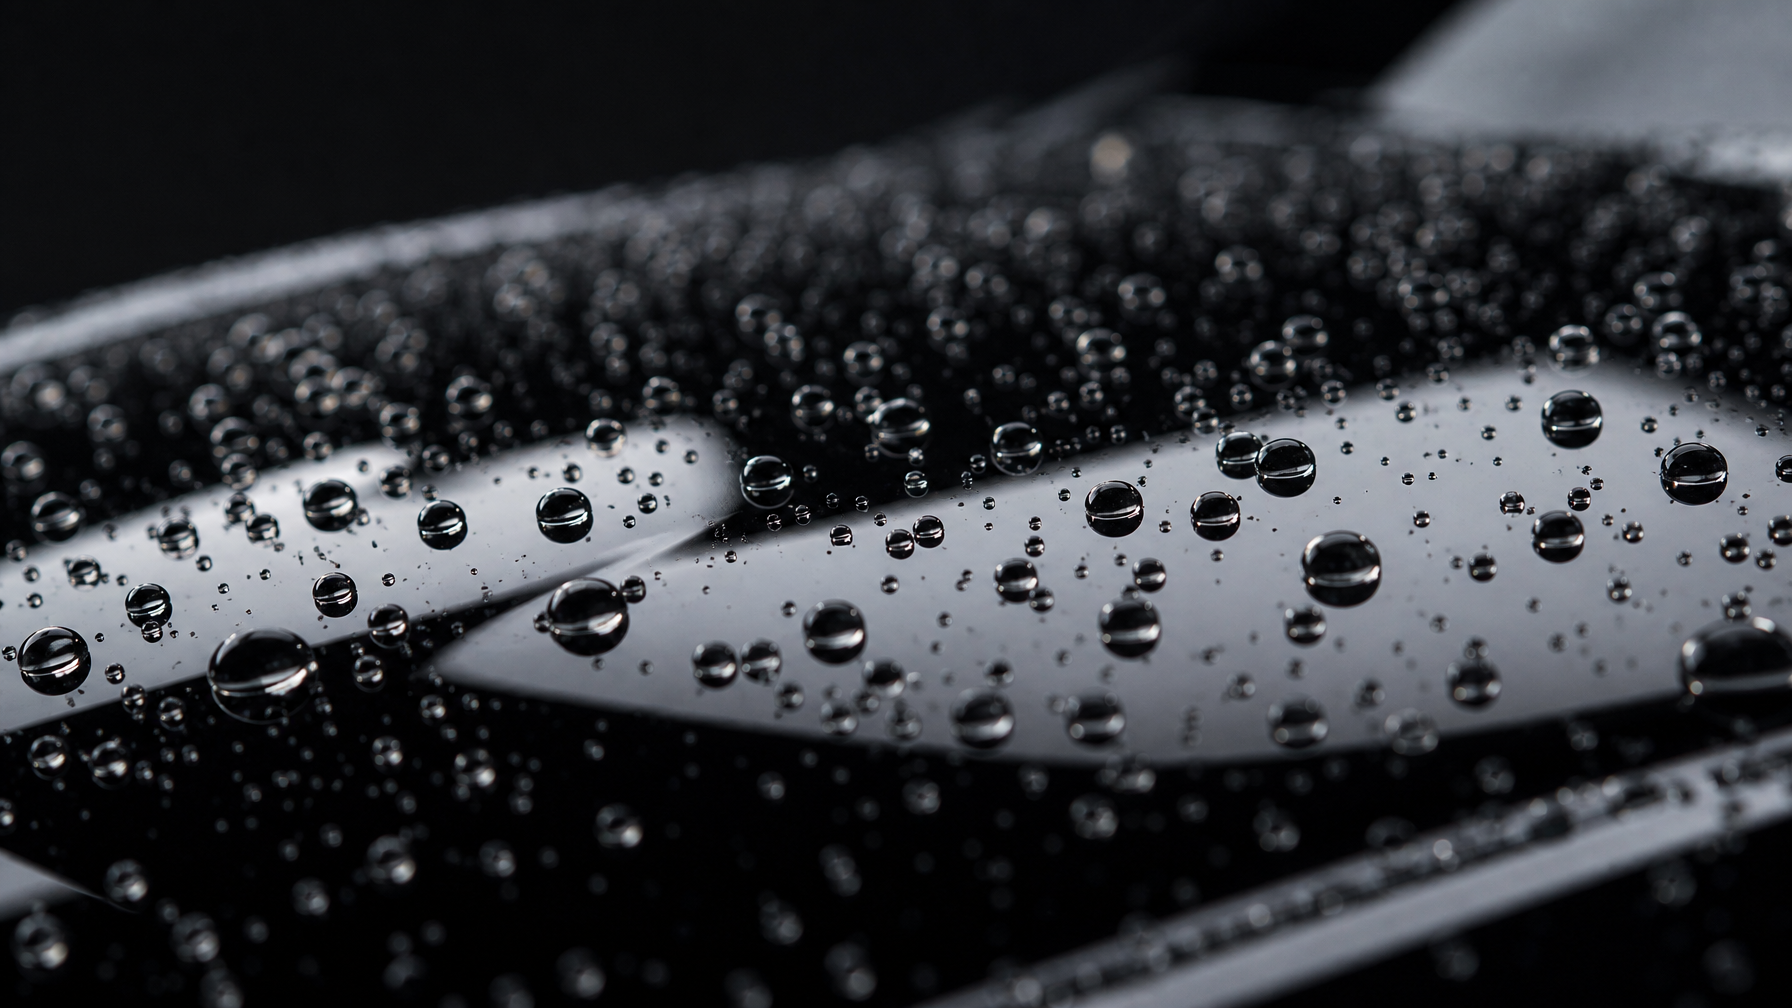
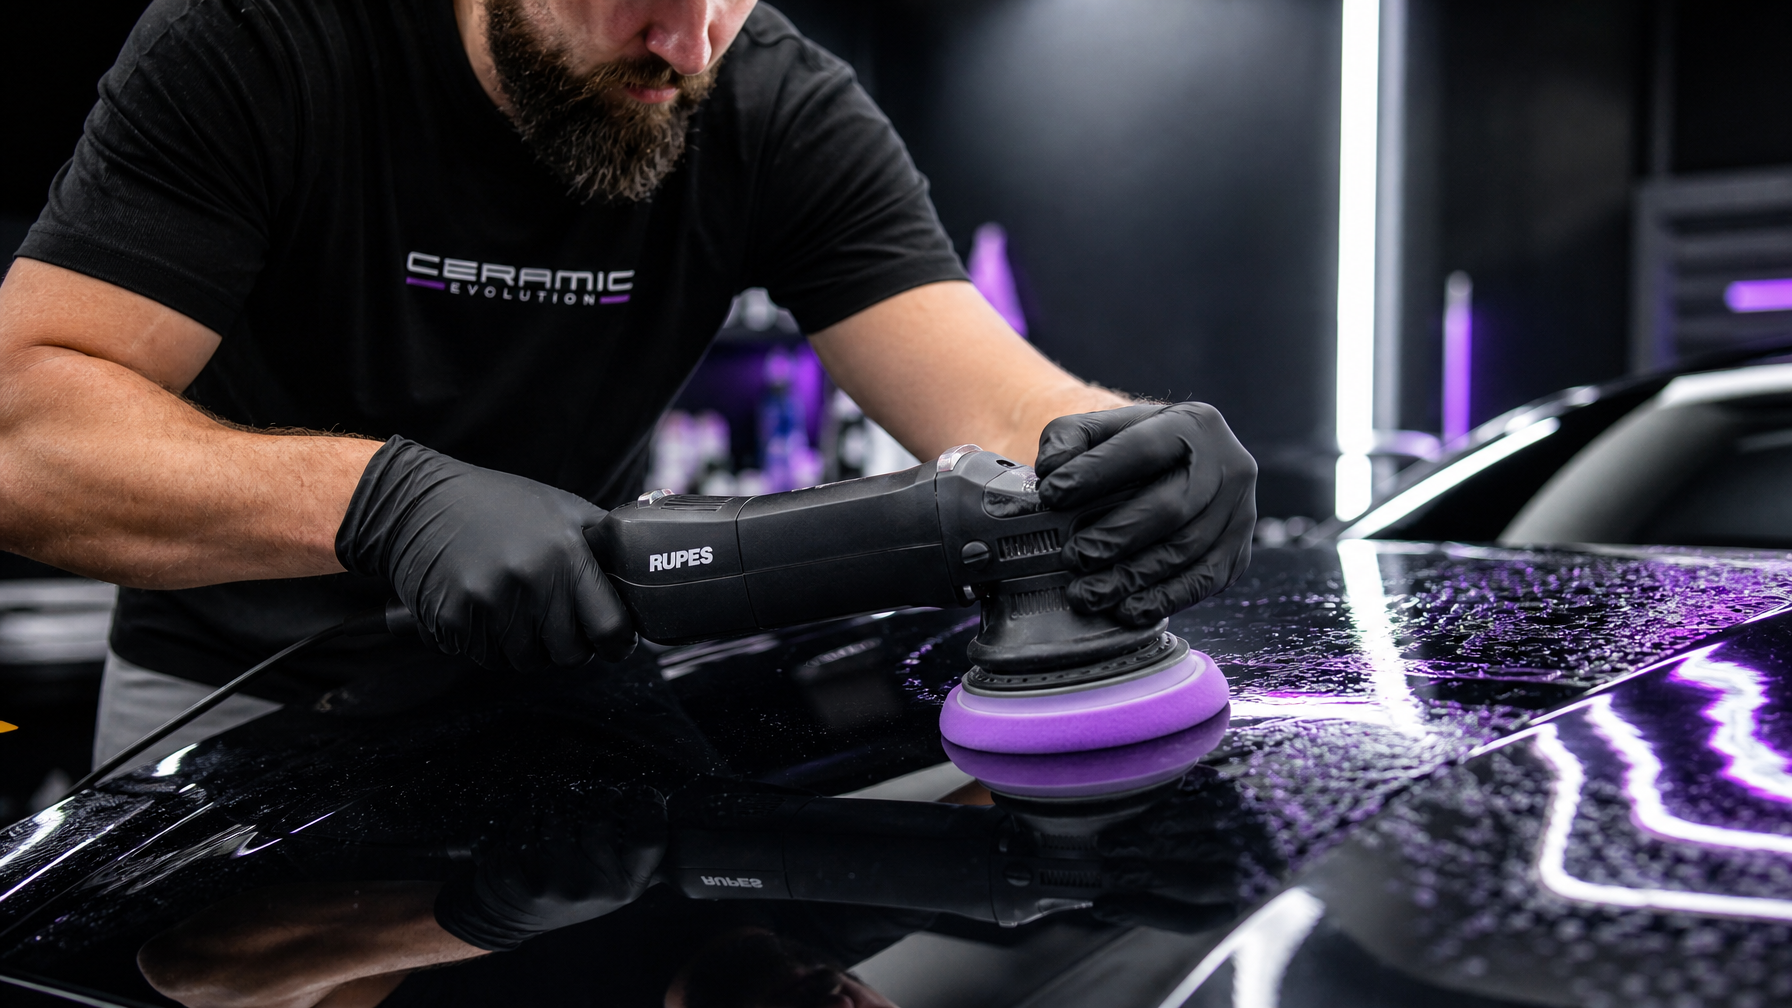
Bonds to your clear coat to create a hydrophobic, UV-resistant barrier that lasts years, not months. Includes paint correction before application. SiO2 and graphene ceramic options.
View Ceramic Coating →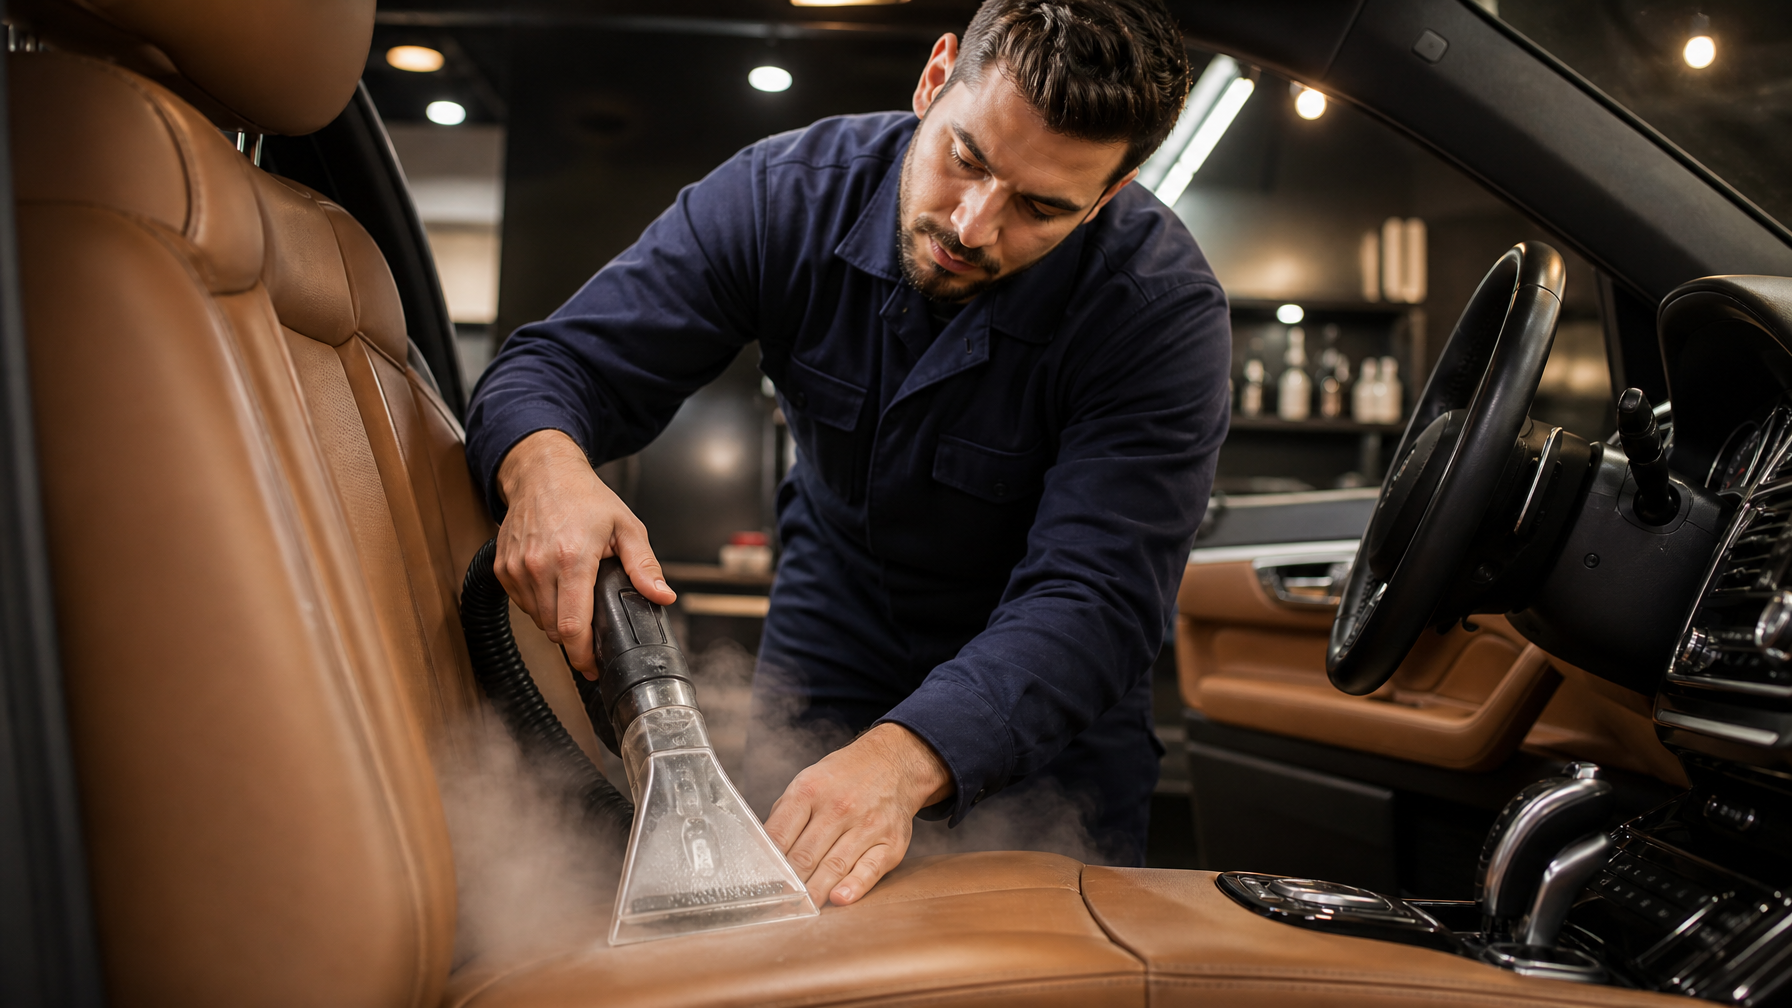
Complete interior and exterior care in one appointment. Deep clean, decontamination, polish, and wax. Perfect for regular maintenance or pre-sale preparation.
View Full Detail →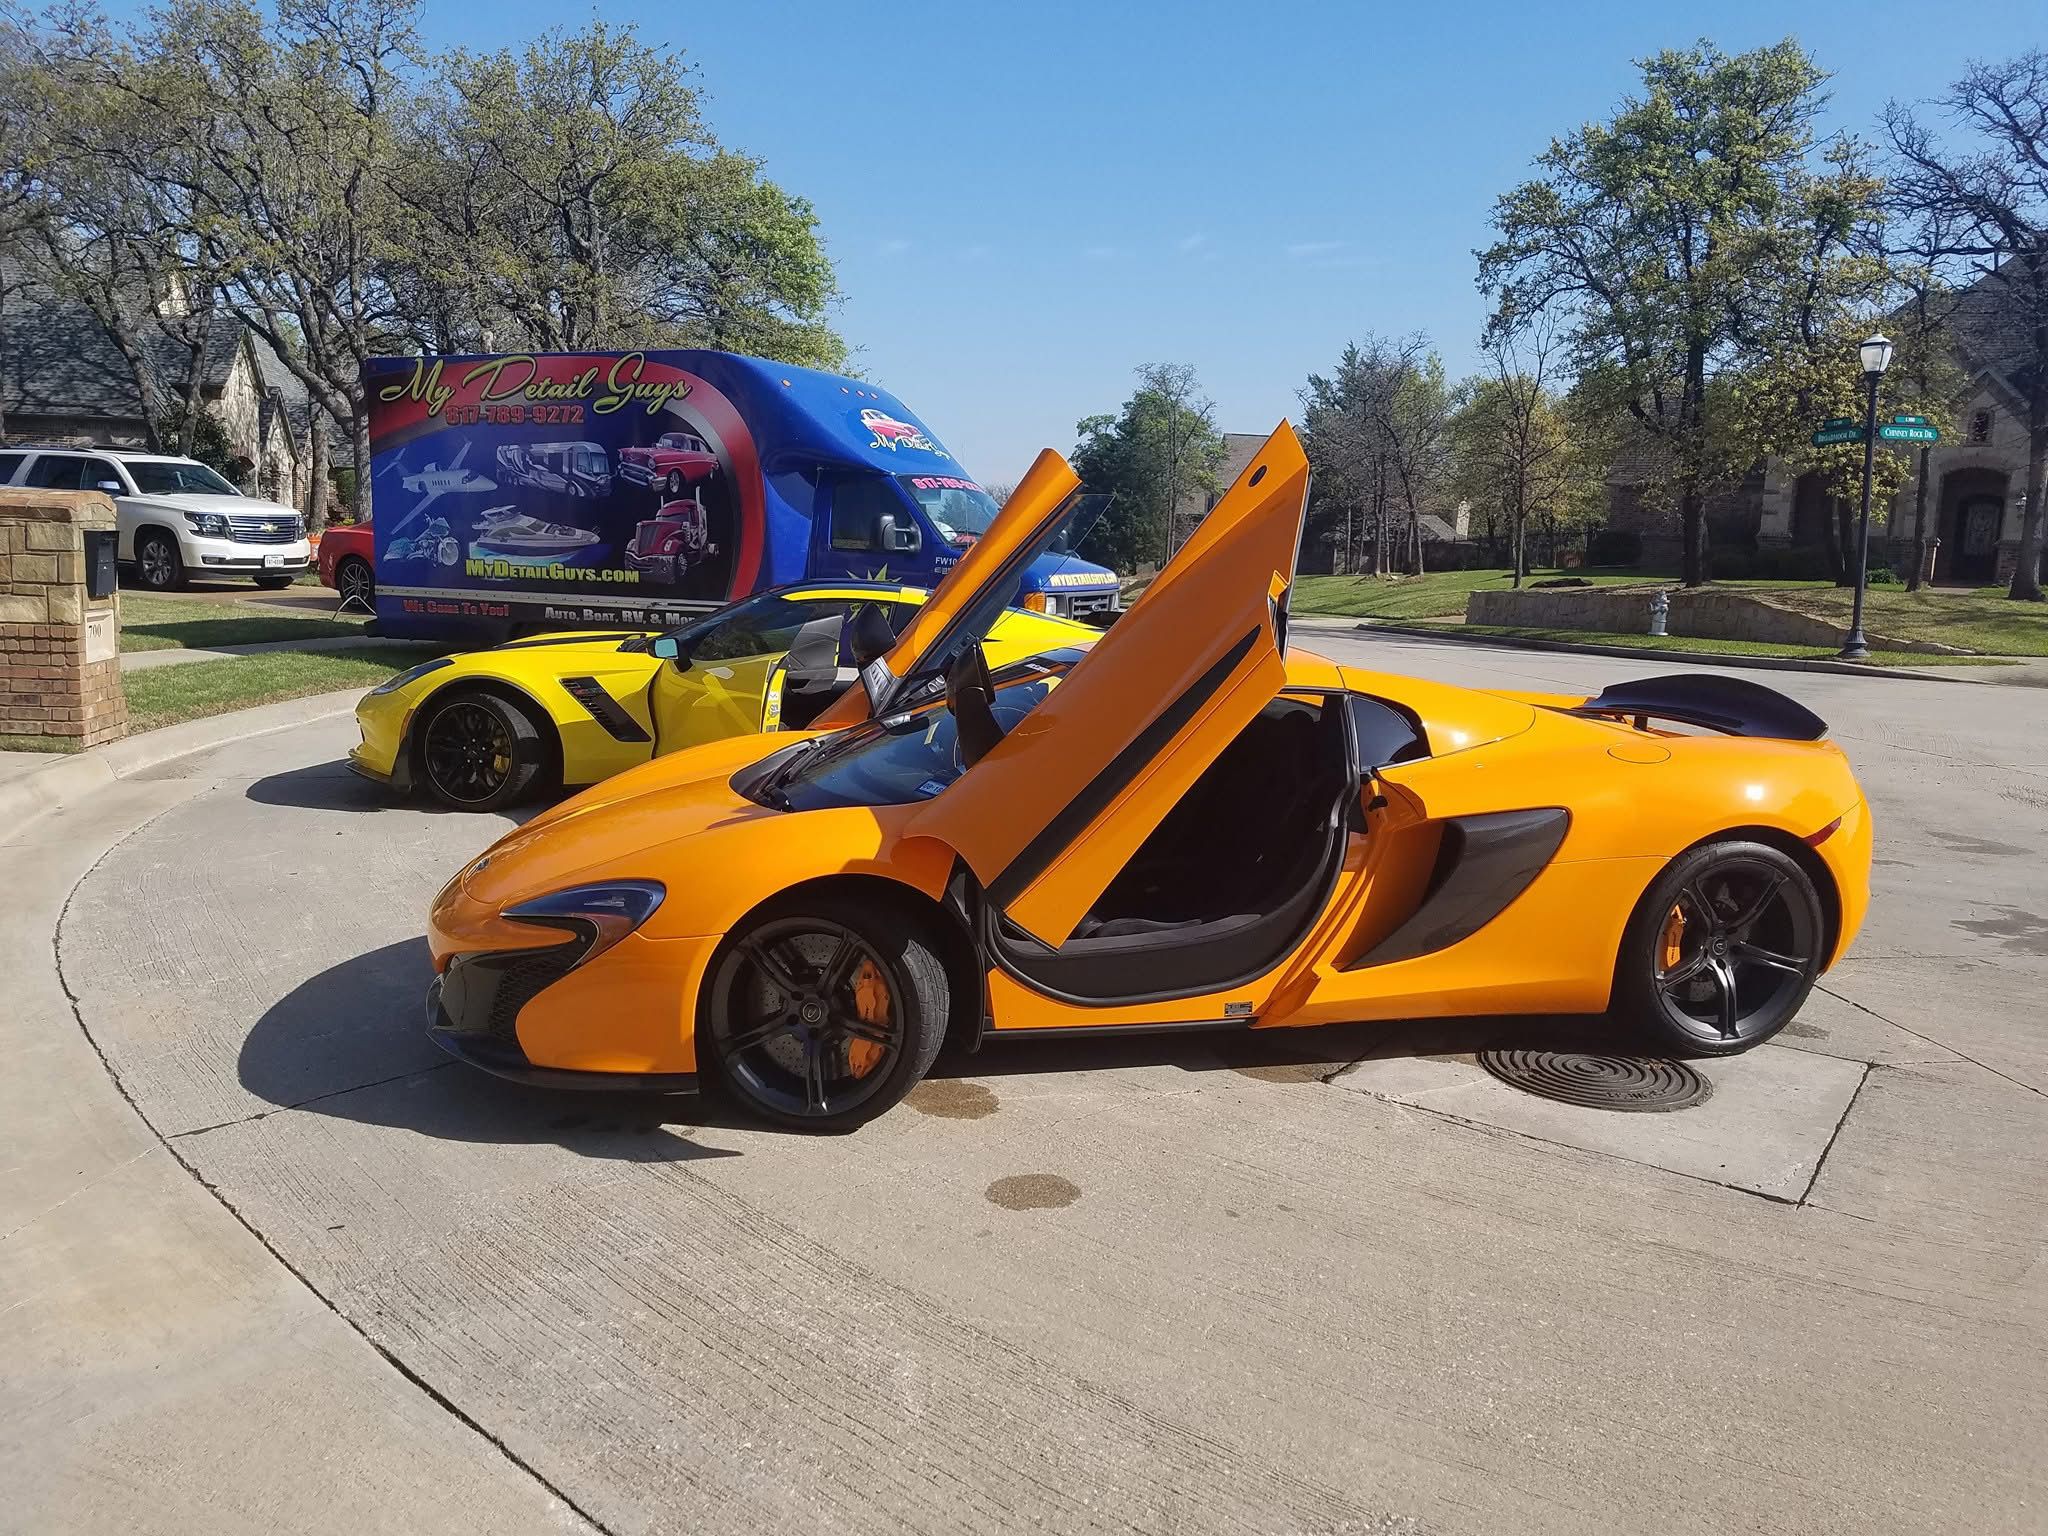
We bring everything to your home, office, or anywhere across 16 DFW cities. Same-day service available when you call before noon.
View Mobile Service →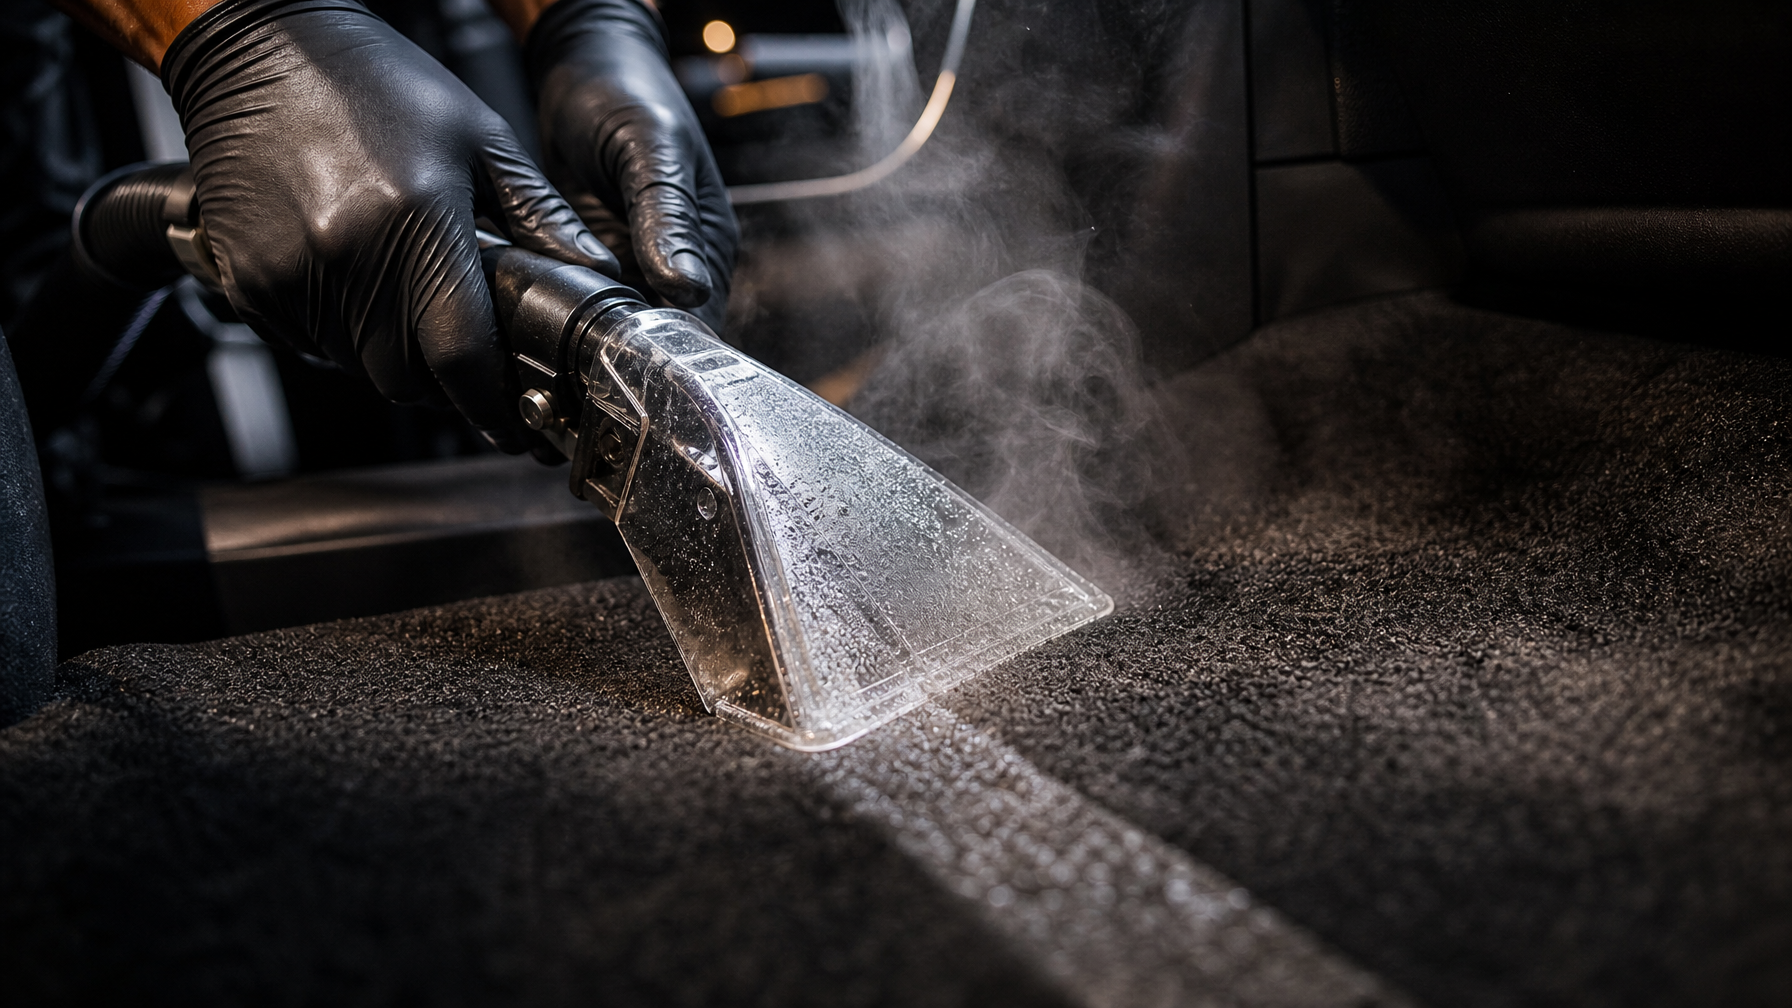
Vacuuming, shampooing, stain removal, leather conditioning, and odor elimination. Mobile or in-shop. Your cabin will look and smell like new.
View Interior Detail →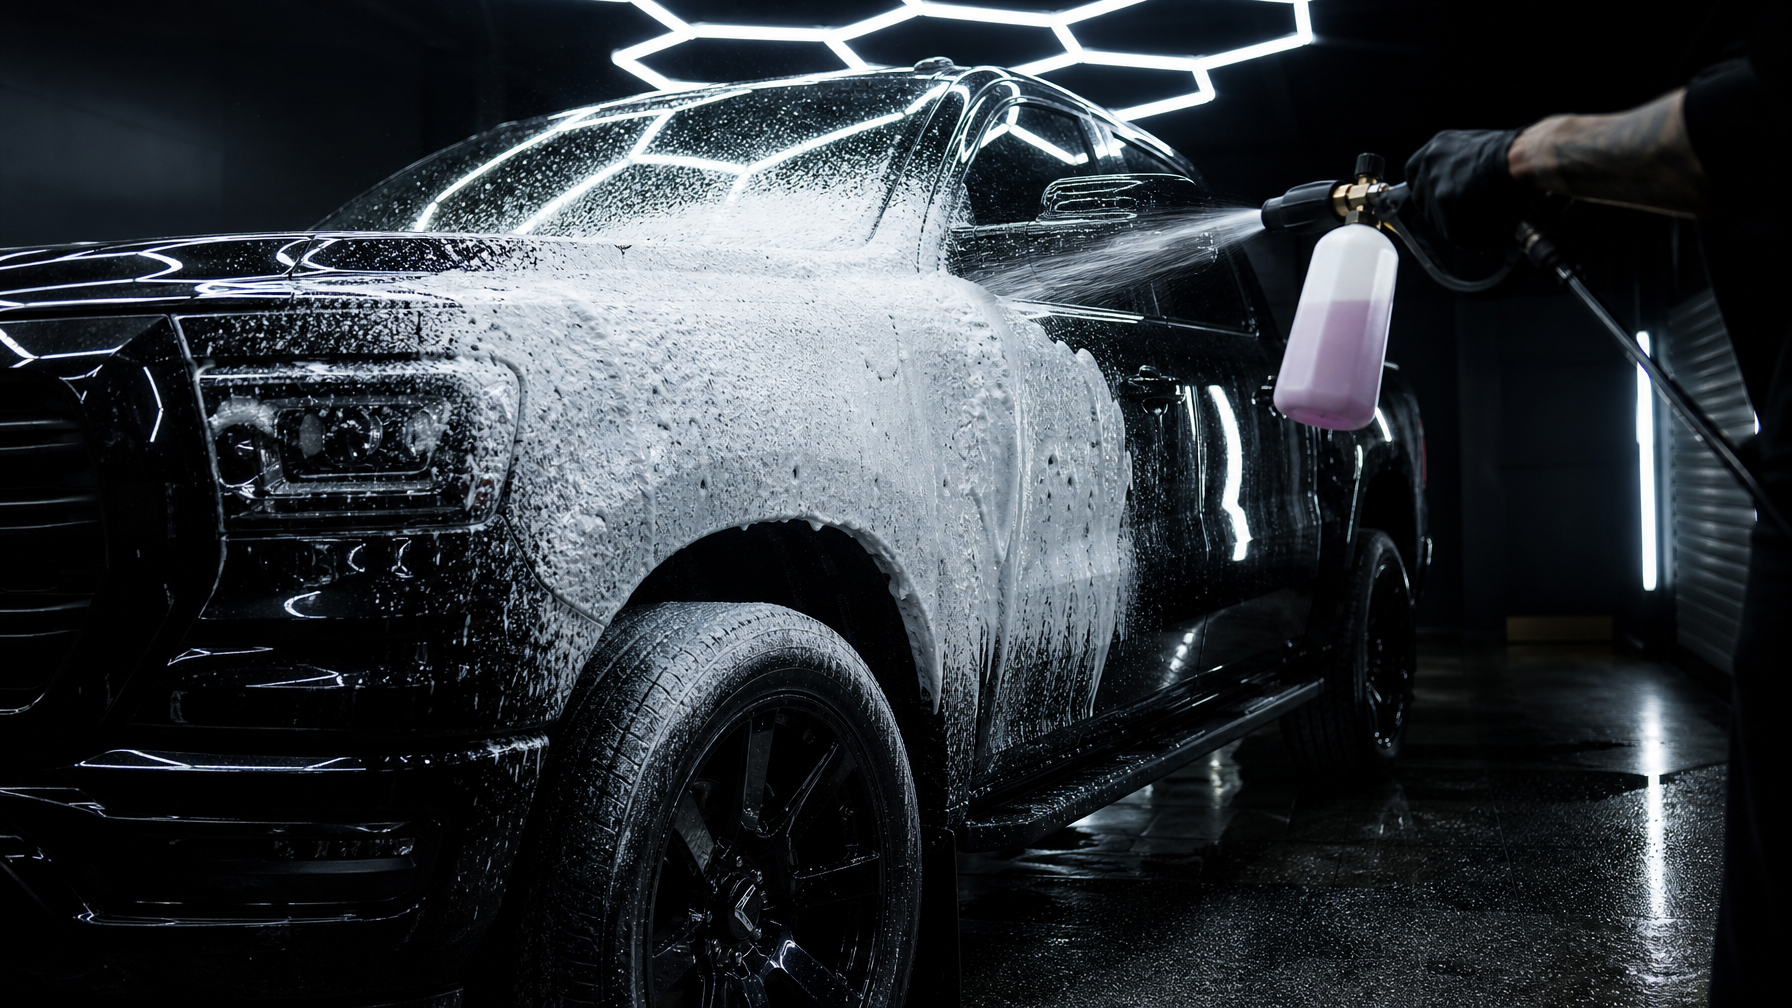
Hand wash, clay bar decontamination, machine polish, and premium wax protection. Wheels, tires, trim, and glass. Drive away with a showroom shine.
View Exterior Detail →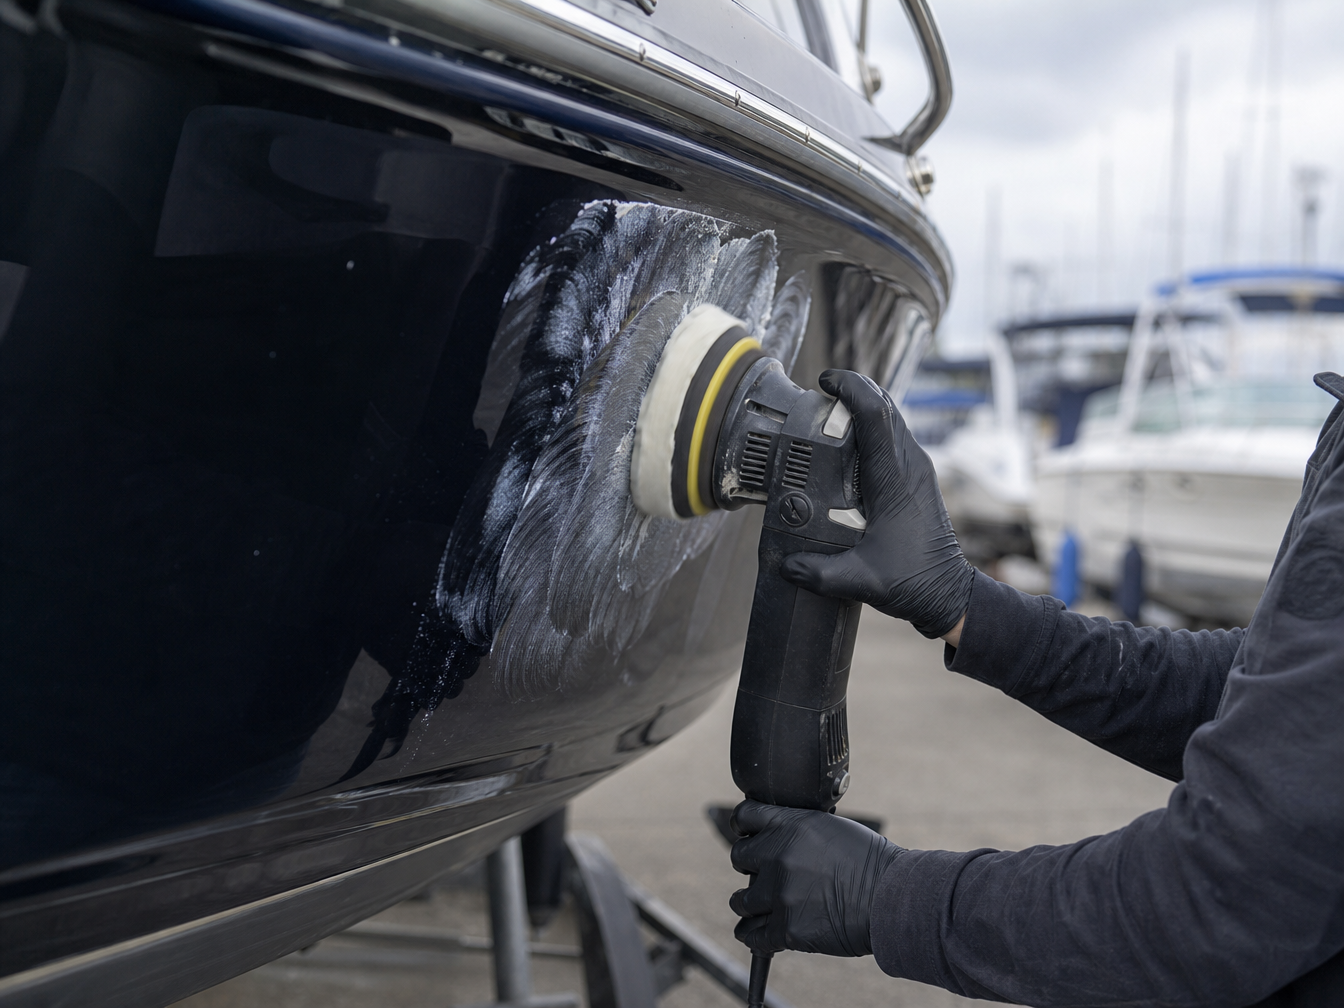
Mobile dock service at DFW lakes. Gelcoat restoration, stainless and brightwork polishing, marine interior care. Eagle Mountain, Grapevine, Lewisville, and more.
View Boat Detailing →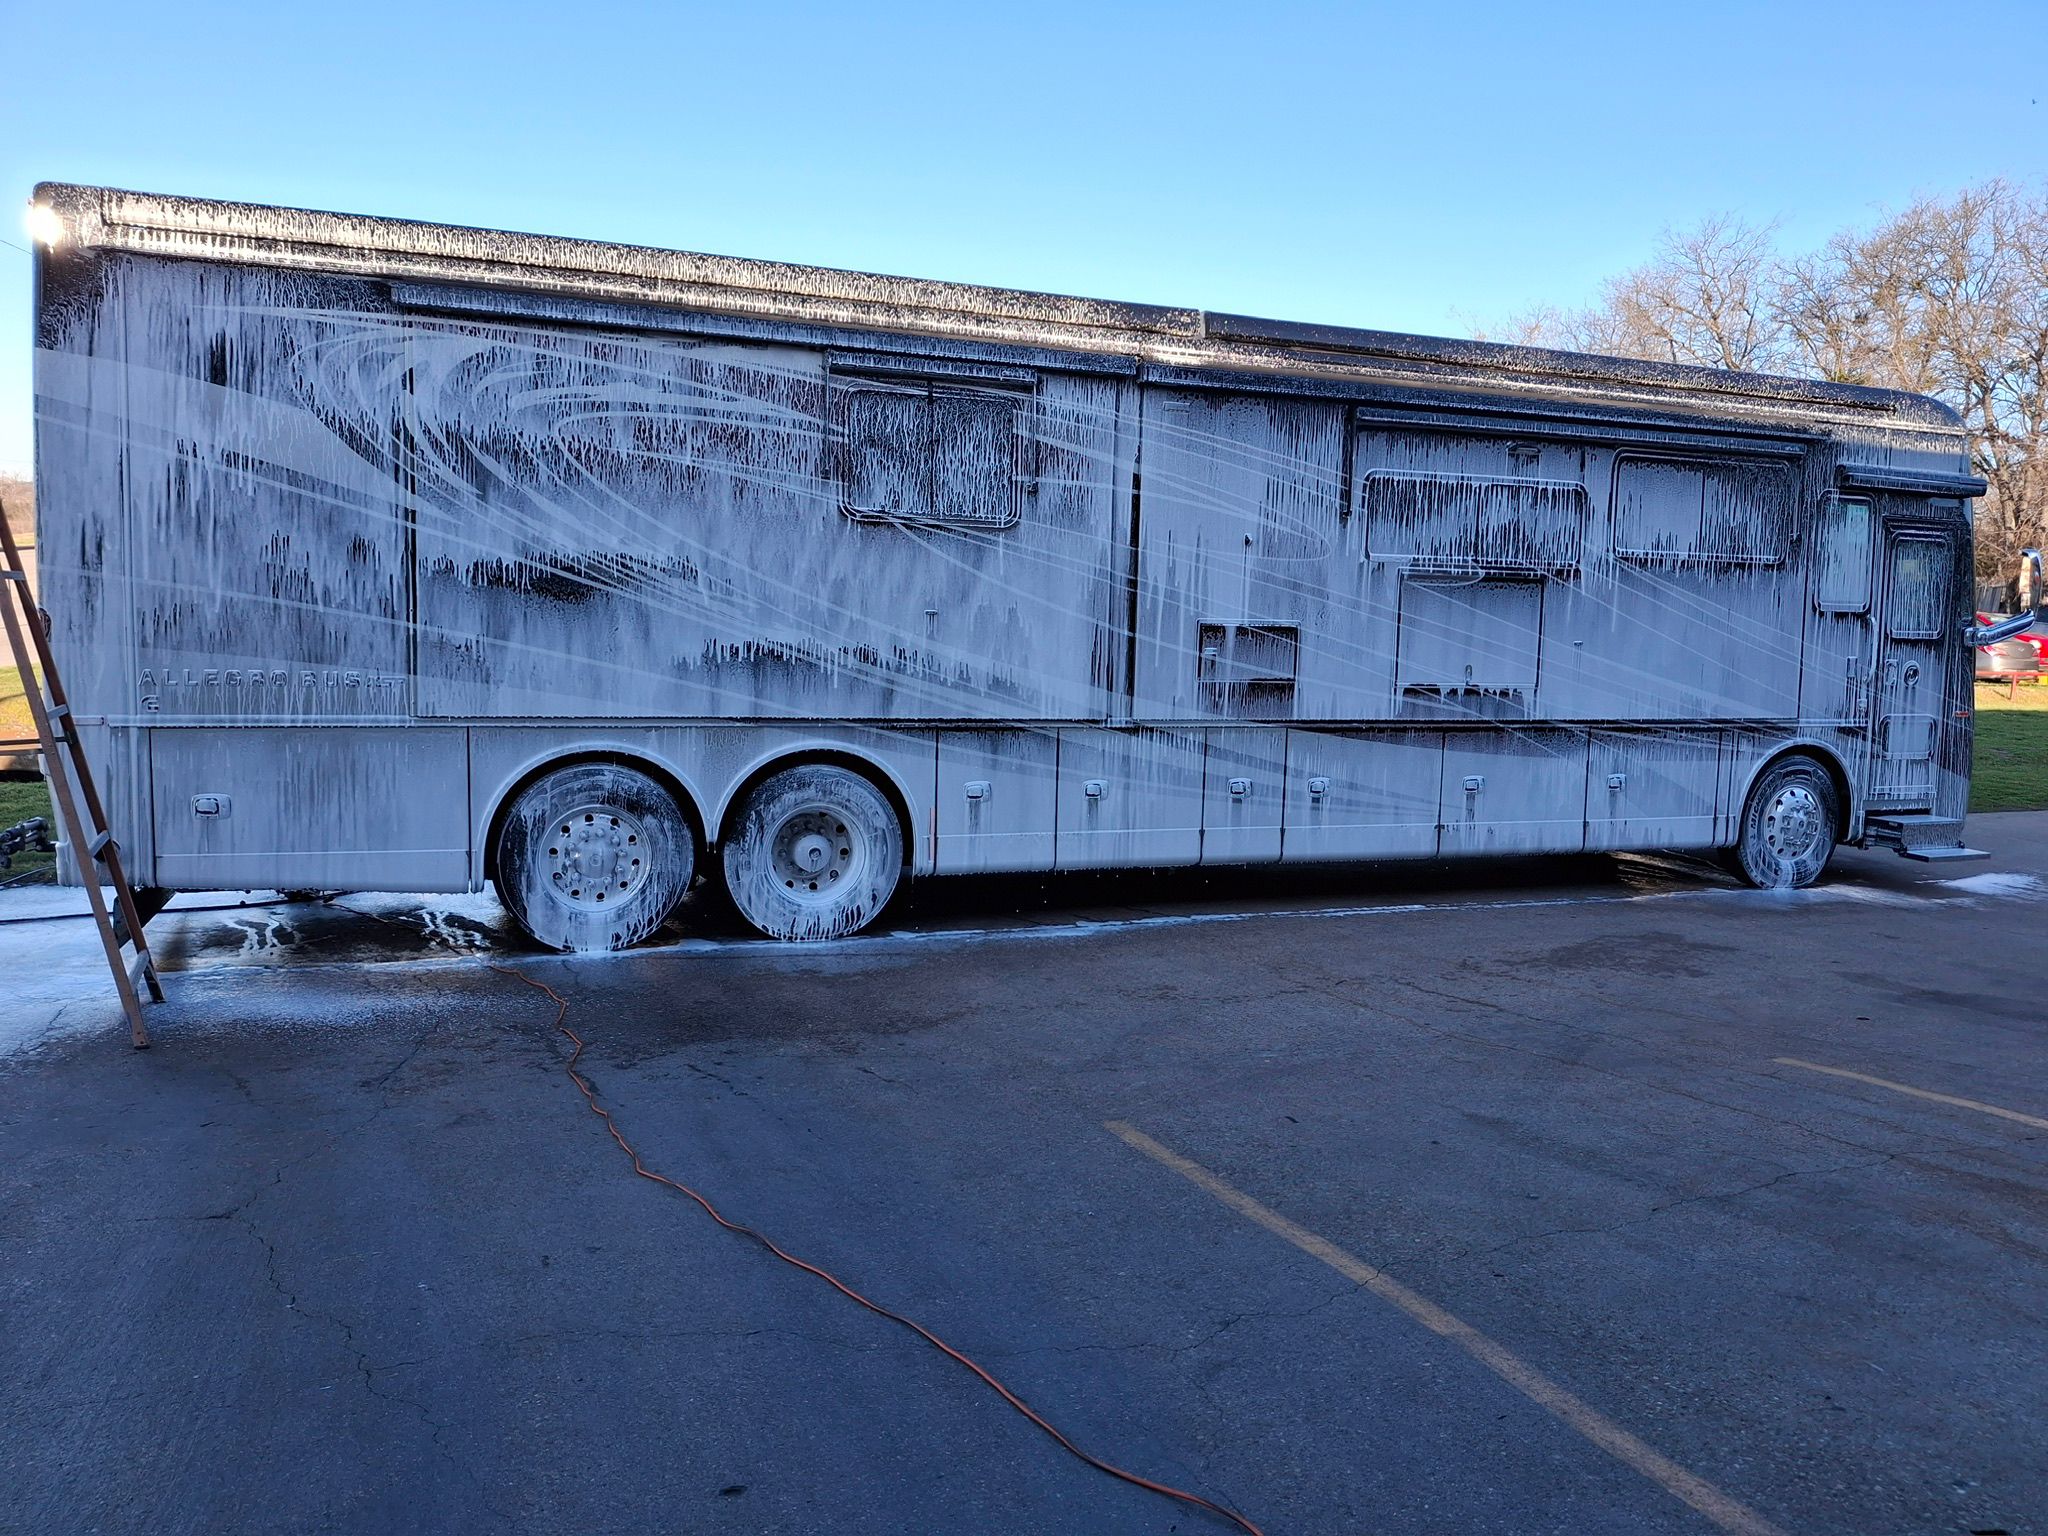
Exterior wash, oxidation removal, roof care, and interior detail for Class A, B, C motorhomes, fifth wheels, travel trailers, and toy haulers. Mobile at your storage.
View RV Detailing →
Chrome polishing, engine cleaning, leather saddlebag conditioning, and paint protection. Cruisers, sport bikes, touring, and custom builds. Mobile at your garage.
View Motorcycle Detailing →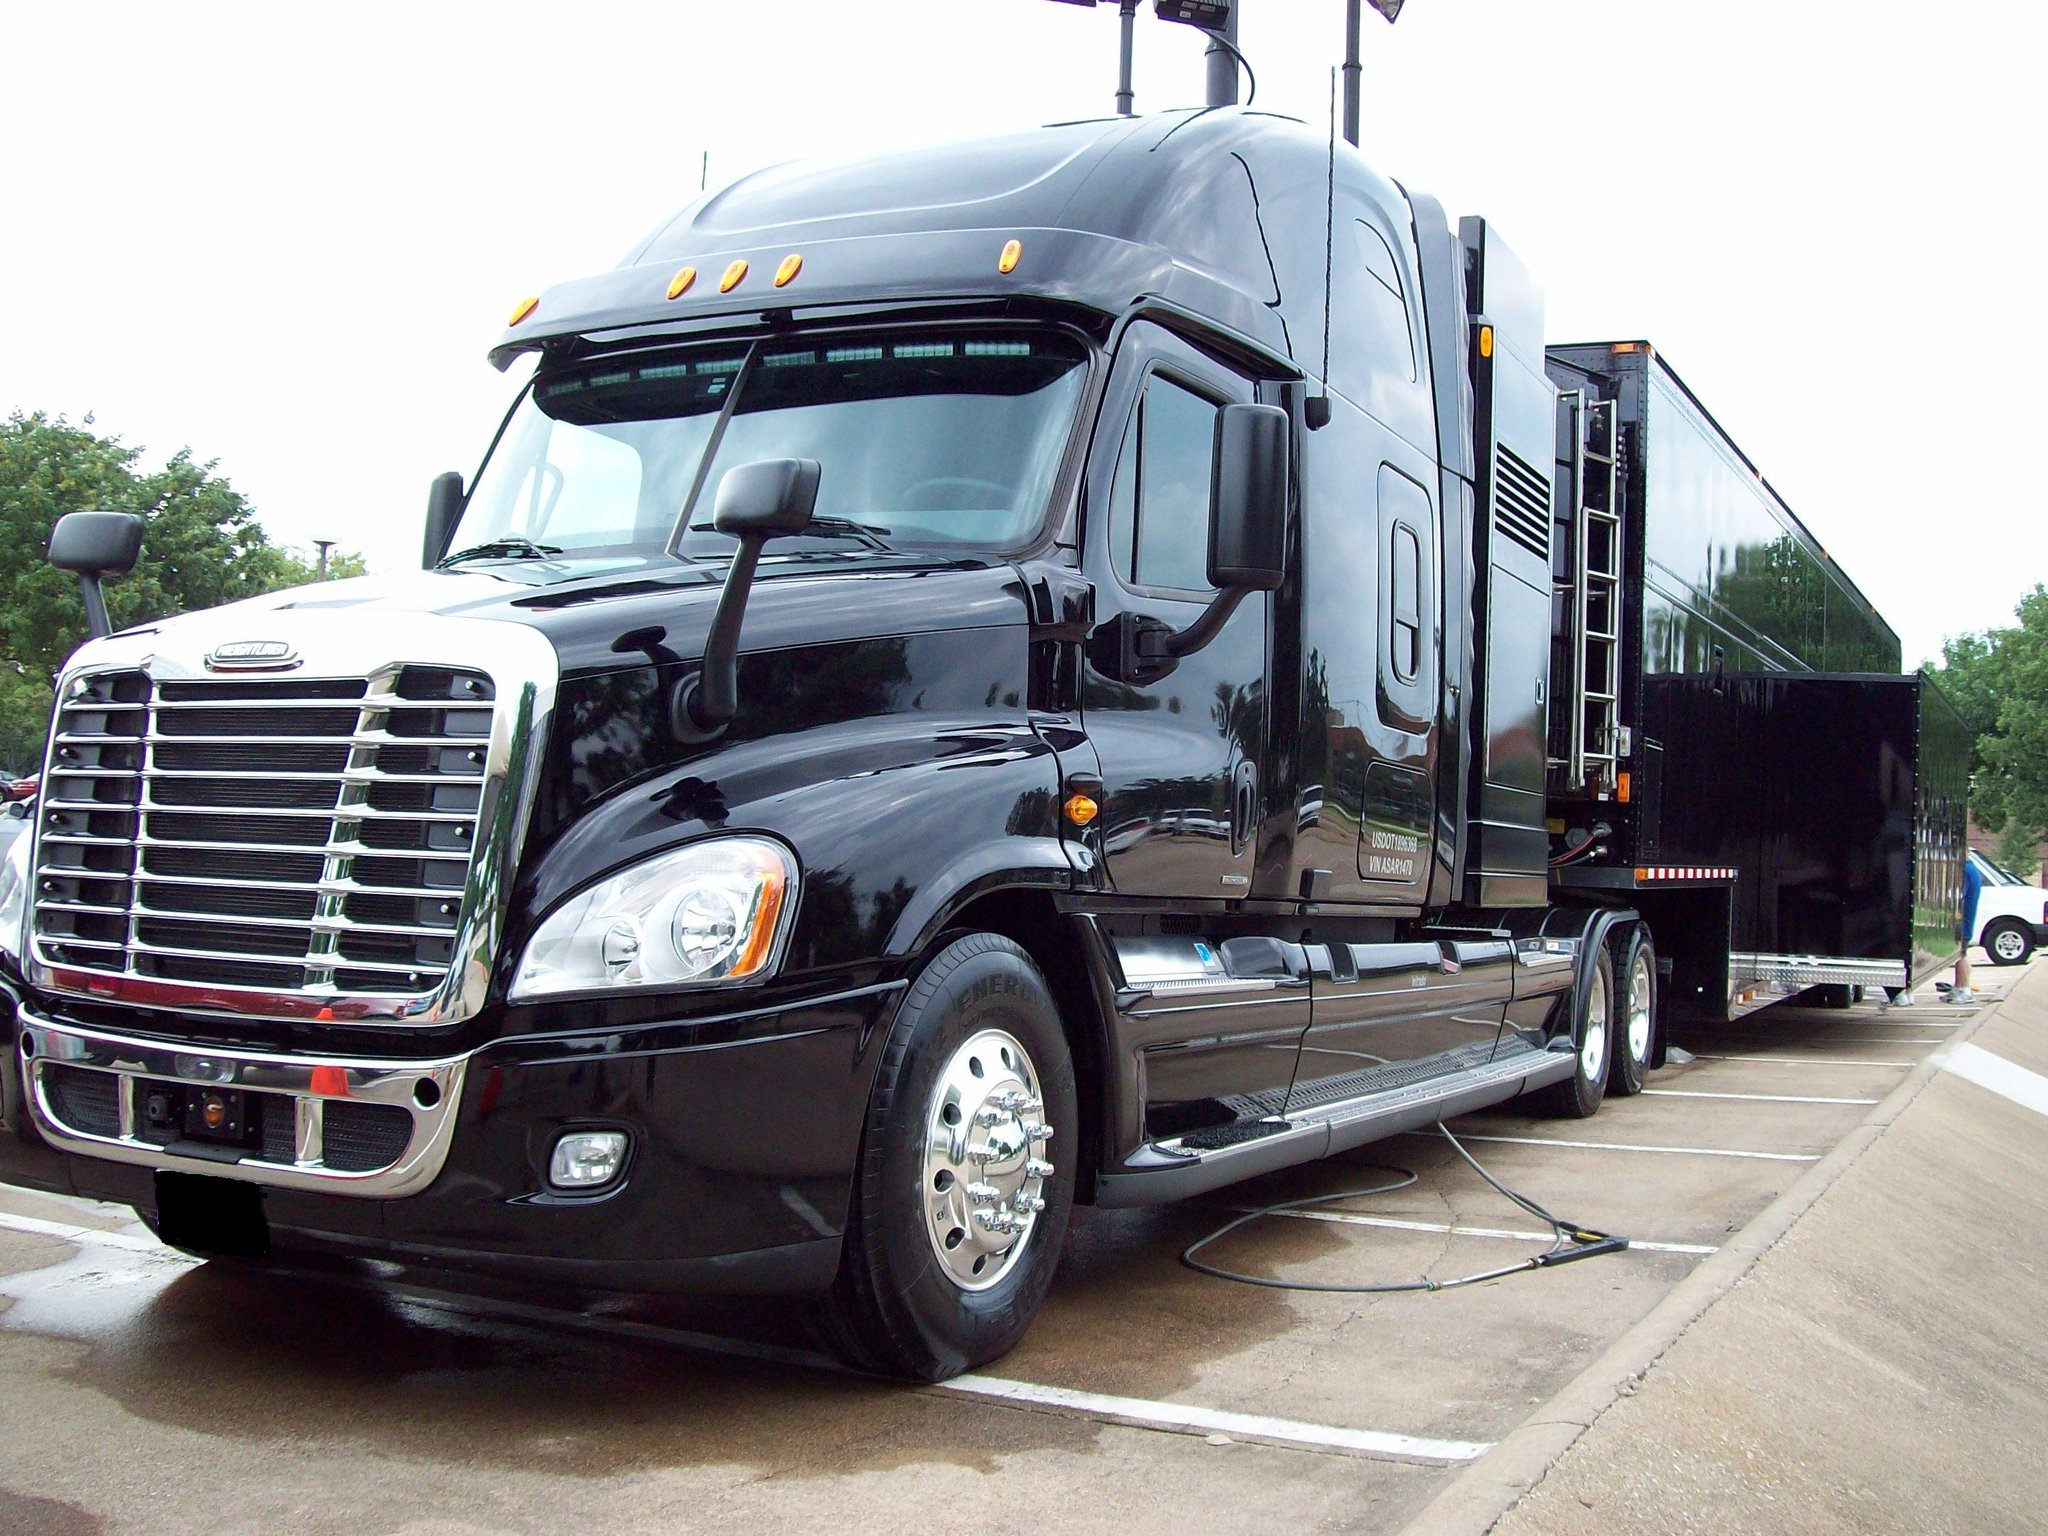
Exterior wash, aluminum fuel tank and stainless stack restoration, day cab and sleeper interior. Mobile at your yard. Fleet discounts up to 20% available.
View Semi-Truck Detailing →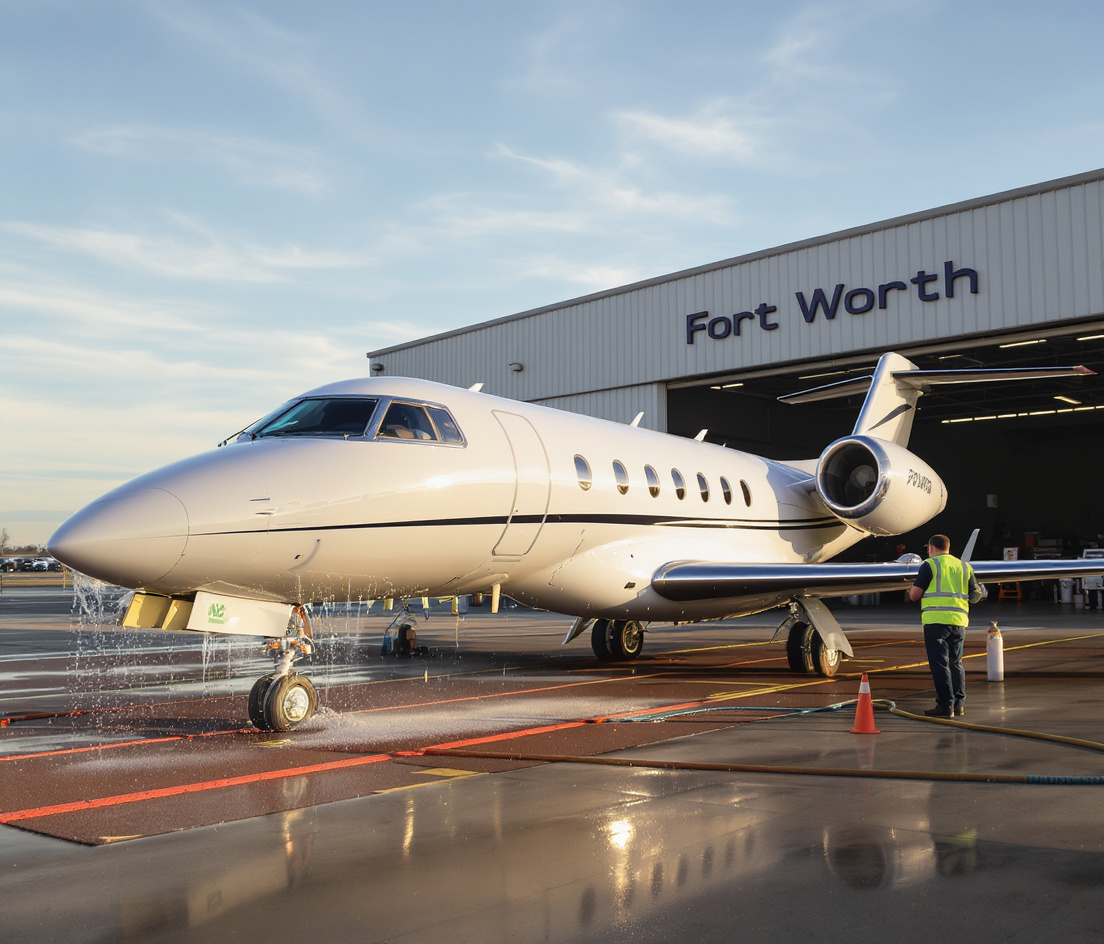
Mobile hangar service at KFWH, KAFW, and DFW-area FBOs. Wet wash, dry wash, brightwork polishing, paint correction, interior care. 24/7 scheduling.
View Aircraft Detailing →Not Sure Where to Start?
Call us or book online. Most quotes are confirmed in under 5 minutes. We'll recommend the right service for your vehicle and budget.
Book or Get a QuoteWhy Fort Worth Chooses Us
What Sets My Detail Guys Apart
20+ Years of Experience
Since 2003, thousands of vehicles across Fort Worth and DFW. Our technicians use professional-grade products — Adam's Iron Remover, Jescar Ultra Lock+ Plus, and Adam's Graphene Detail Spray — not consumer-grade alternatives.
Mobile — We Come to You
No time to visit a shop? We bring everything to your location — water, power, equipment, and professional products — across 16 DFW cities. Same-day availability when you call before noon.
Specialty Vehicle Experts
Cars are just the beginning. We're fully equipped and trained for boats, RVs, motorcycles, semi-trucks, and aircraft — each with the specific products and techniques those surfaces demand.
Transparent Pricing
Upfront quotes before we start — no hidden fees at delivery. Every service includes a clear explanation of what's included. You know the price before we begin. Always.
What to Expect
The My Detail Guys Process
Book Online or Call
Choose your service and book at the link above, or call 817-532-6904. Mobile customers provide their location. Most quotes confirmed immediately.
We Arrive Ready
For mobile service, we arrive fully equipped with all water, power, and professional products. Shop appointments begin with a quick inspection and confirmation.
Meticulous Detailing
Our certified team follows proven processes for each service type. We take the time to make sure every inch meets our quality standards before finishing.
Final Walkthrough
You review the work with your technician before we leave. If anything needs attention, we handle it on the spot — completely satisfied, every time.
Enjoy Your Vehicle
Drive away with confidence. We'll provide care tips for maintaining the result and can set up a recurring schedule if you'd like.
Serving the DFW Metro
Fort Worth & Surrounding Communities
In-shop at 6925 E Lancaster Ave, Fort Worth. Mobile service across 16 DFW cities — same-day available when you call before noon.
Don't see your city? Call us — we may be able to accommodate your location.
Need Auto Upholstery Repair?
Detailing restores the surface. When you need the interior rebuilt, our sister company My Upholstery Guys is in Suite B at the same East Lancaster address. Torn seats, cracked leather, peeling headliners, custom work — one visit, both shops.
413 Five-Star Reviews
What Fort Worth Drivers Say
From the Shop
Detailing Insights & Tips
Professional Fleet Detailing Options for Your Semi Trucks
Reliable fleet detailing solutions that enhance appearance and longevity — what owner-operators and fleet managers should know before scheduling regular service.
Read Article →The Real Reason a Clean Car Just Feels Better
The psychology of a clean vehicle — why detailing affects how you feel behind the wheel and how it signals care to everyone who sees it.
Read Article →Ceramic Coating: Benefits and Advice for Your Vehicle (2026)
Everything you need to know about professional ceramic coating — what it does, how long it lasts, what it costs, and when it makes sense vs. a standard wax.
Read Article →Detailing Gift Cards
The perfect gift for any driver — birthdays, holidays, employee rewards. Load the amount you want; they choose the service. Digital and physical gift cards available. Our mobile team comes to them anywhere in Fort Worth.
Get a Gift CardReady to Experience the My Detail Guys Difference?
Over 20 years of experience, same-day availability, and a commitment to exceeding expectations on every vehicle. Book online or call now.